Preparing your car correctly before painting is essential for getting a smooth, professional-looking paint finish. Proper prep work removes imperfections, creates an ideal surface for paint adhesion, and helps the new paint last longer. Follow these key steps to learn how to prep a car for paint from start to finish.
Why Bother Prepping a Car Before Painting?
You may be tempted to skip prep work and jump right to spraying on fresh paint. However, proper sanding, cleaning, masking and priming is crucial for these reasons:
- Removes existing paint flaws like orange peel, runs, drips and damaged clearcoat
- Eliminates rust, dents, scratches and other imperfections
- Creates a uniform surface for the paint to adhere to
- Allows primer and paint to fully bond to the metal or existing finishes
- Prevents future problems like peeling or bubbling paint
The time spent prepping will pay off with a smooth, durable and professional automotive paint job that will last for years.
Sanding the Car’s Surface
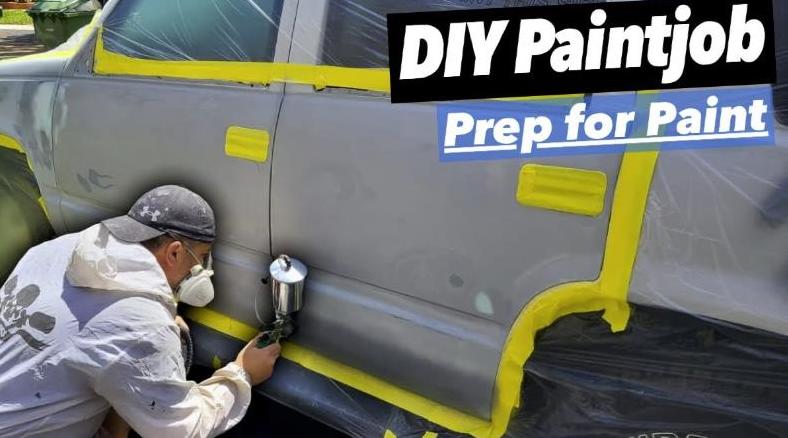
Sanding is essential prep work before painting a car. It removes the glossy top layer of clearcoat and exposes any flaws in the existing paint. Here are some tips:
- Always use a dust mask or respirator when sanding to avoid breathing in harmful particles
- Start with 220 or 320 grit sandpaper and work up to 400-600 grit for the final sanding
- Use a dual-action orbital sander for large flat areas and sanding blocks for contours
- Sand until the surface loses its shine and feels smooth, without deep scratches
- Be careful around body lines and edges – don’t remove too much material
- Finish by dry sanding areas by hand using 600-800 grit paper
Proper sanding provides the ideal tooth and texture for primer and paint to adhere to.
Applying Body Filler and Primer
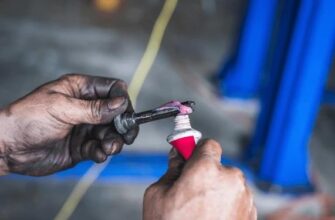
After sanding, you’ll need to apply body filler (Bondo) to fill any remaining dents, holes, scratches or other imperfections:
- Spread body filler over the area using a body filler spreader, slightly higher than the surface
- Once dry, sand the body filler smooth and level with the rest of the surface
- Finish by priming the area – this helps reveal any spots that need more filler
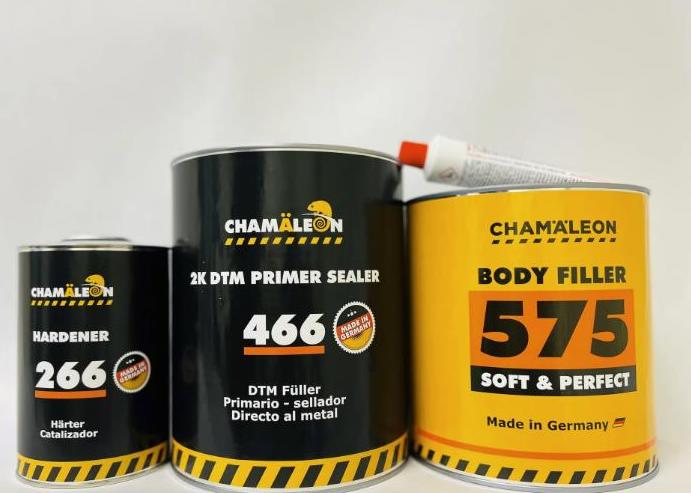
Next, apply primer to the entire vehicle or sections you’ll be painting. Primer creates a uniform base for the paint to bond to. Be sure to use automotive primer suited for the paint you’ll be using. Apply 2-3 even coats, sanding between each coat.
Masking and Final Cleaning
Carefully mask off any areas you don’t want painted such as glass, chrome trim and rubber seals. Use high-quality automotive masking tape and paper.
Give the car a final cleaning before painting using a grease and wax remover cleaner. This gets rid of any leftover polish, grease or other contaminants. Tack cloth the entire area to pick up any remaining dust right before painting.
Choosing the Right Paint
There are many types of automotive paint, including:
- Acrylic enamel – single stage paint that dries glossy
- Urethane – two part paint that provides a clearcoat
- Basecoat/clearcoat – two layers for a deep glossy finish
Select the right paint for your project and experience level. Follow the paint manufacturer’s instructions for best results.
Properly prepping your car takes time and care, but it’s worth it for a professional looking, durable paint job. Just take it step-by-step. And if you’re not confident in your skills, there’s no shame in leaving it to a professional auto body paint shop!
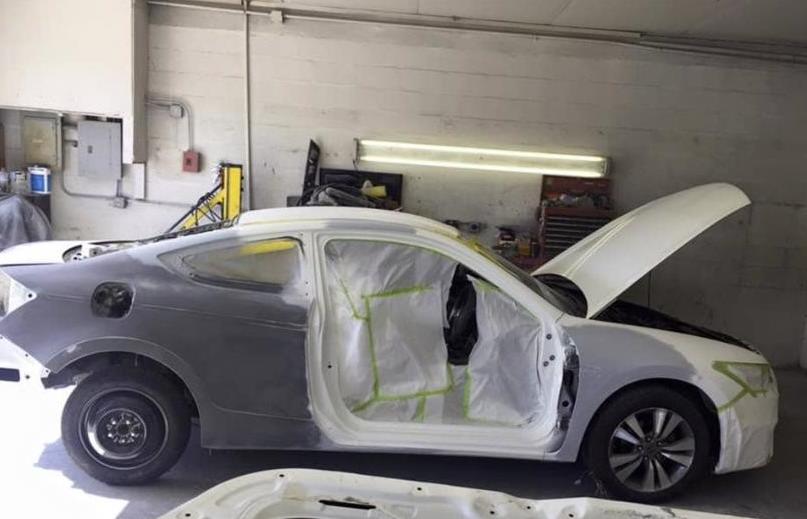
Key Takeaways for Prepping a Car for Paint
Follow these core steps:
- Sand the entire surface thoroughly using 220-600 grit sandpaper
- Apply body filler to dents/imperfections, then sand smooth
- Prime all areas to be painted using 2-3 coats of primer
- Carefully mask off any areas not being painted
- Give a final cleaning using a wax/grease remover and tack cloth
- Select the right type of automotive paint for your project
Proper preparation is crucial for achieving perfect results painting your car. Take your time prepping the surface and you’ll have a smooth, durable paint job that makes your car look brand new!


